How To Build A Minimal Makeup Routine For Humid Australian Days
A practical step-by-step guide to how to build a minimal makeup routine for humid Australian days, including preparation, instructions, common issues, tips, and next steps.
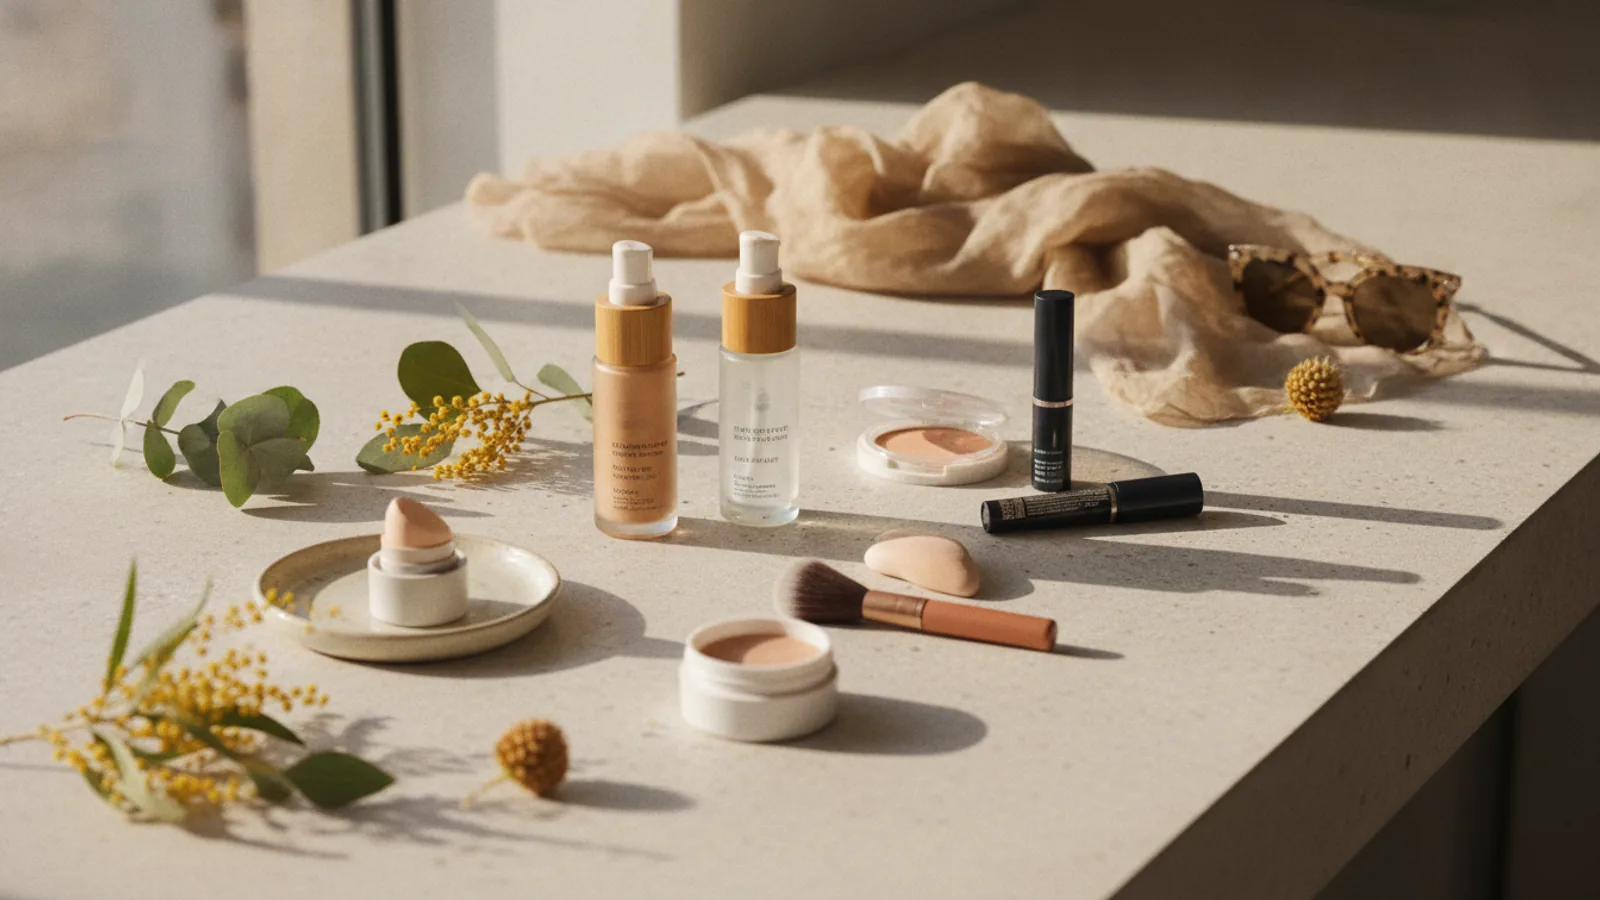
How To Build A Minimal Makeup Routine For Humid Australian Days
Build a minimal makeup routine that holds up through humid Australian days by using fewer products, lighter layers, and smart setting techniques. The goal is to look fresh in heat and moisture, not to create a heavy mask that slides off by lunchtime. This guide walks through prep, six essential steps, troubleshooting, and quick checks so you can adapt the routine to your skin and climate.
Fast Answer
- Use a lightweight, humidity-resistant base and skip heavy powders that can cake in moisture.
- Set only where you shine, then carry blotting papers for quick touch-ups instead of adding more product.
Before You Start
- Cleanse with a gentle gel or foaming wash to remove overnight oil without stripping your skin barrier.
- Apply a light, oil-free moisturiser and wait two minutes so it absorbs before makeup goes on.
- Smooth on a thin layer of mattifying primer only on your T-zone and any areas that get shiny quickly.
- Check the day’s forecast for humidity and heat, then adjust how many products you plan to use.
Step-by-Step Instructions
Start with a clean, balanced base
Cleanse your face with lukewarm water and a gentle gel cleanser to remove oil and sweat residue from the night. Pat dry with a clean towel, then apply a lightweight, oil-free moisturiser and wait about two minutes so it absorbs fully. Next, smooth a thin layer of mattifying primer only on your T-zone, nose, and any areas that turn shiny quickly. This step controls excess oil and creates a smoother surface so foundation does not break apart in humidity. Check your skin by pressing a clean finger to your forehead: if it feels tacky, wait another minute before continuing. That small pause matters because applying makeup over wet moisturiser or primer can cause patchy coverage and early sliding, especially on hot, damp days. Keep the layers thin, because thick layers trap moisture and make everything feel heavier as the day warms up.
Choose a lightweight, humidity-friendly base
Pick a foundation or tinted moisturiser labelled oil-free, long-wear, or humidity-resistant. These formulas typically contain less oil and more film-forming ingredients that help them stay put. Apply a small amount to the centre of your face with a damp sponge or clean fingers, then blend outward in thin layers. Build coverage only where you need it, such as around redness or blemishes, rather than covering your whole face evenly. After application, wait thirty seconds and gently press a clean tissue over your skin to lift any excess product. This check matters because leftover foundation is what usually creases, separates, or transfers onto your phone or clothes when the air is moist. If your base already looks shiny before powder, you applied too much or your moisturiser had not fully absorbed. In that case, blot once with a tissue and continue without adding more foundation, keeping the overall finish light and breathable.
Conceal only where you need it
Use a small brush or your ring finger to tap a creamy concealer under your eyes, around your nose, and on any blemishes. Choose a formula that is slightly lighter than your foundation if you want brightness, or match it exactly for a more natural look. Apply in thin dots, then blend with gentle tapping motions rather than sweeping, which can lift the base underneath. Wait a few seconds, then check in natural light to ensure the edges blend seamlessly. This check is important because concealer that sits on top of skin without blending will crease or look patchy once humidity rises. If you see fine lines under your eyes, tap the area with a clean finger to smooth the product before it sets. Avoid heavy layering, as multiple coats of concealer trap moisture and can slide into lines. A light touch here keeps the under-eye area looking fresh instead of heavy or dry.
Set strategically with powder
Dip a fluffy brush into a finely milled translucent powder, tap off the excess, and press it gently onto your T-zone, nose, chin, and any areas that shine. Use a pressing motion rather than sweeping, so the powder melts into the skin instead of sitting on top. Avoid powdering your entire face, because dry areas can look cakey and emphasises texture in humidity. After setting, wait one minute and check with a hand mirror in daylight. If you see a white cast or obvious powder patches, brush over them lightly with a clean brush to blend. This check prevents the common mistake of over-powdering, which can make your base look dull and heavy. In humid weather, powder helps control shine, but too much can mix with sweat and create a pasty texture. Keep the layer thin and focus only on areas that genuinely need it, then move on to colour products.
Add simple colour with cream or stain
Choose a cream blush, cream bronzer, or a multi-use stain that works on both cheeks and lips. Apply a small dot to the apples of your cheeks and blend upward and outward with your fingers or a damp sponge. For lips, use the same product or a tinted balm, pressing it in with your fingertip for a soft, natural finish. Cream and stain formulas tend to blend into the skin and resist humidity better than heavy powders, which can separate. After applying, smile and check that the colour sits evenly on both sides. This check matters because uneven blush or bronzer can look obvious and distract from an otherwise fresh face. If the colour is too strong, tap over it with your damp sponge to sheer it out. Keep the rest of your makeup minimal, so the colour looks intentional rather than layered. A single multi-use product also reduces the number of items you need to carry and reapply.
Finish with a light setting mist and SPF check
Hold a setting mist about twenty centimetres from your face and spritz two or three times in an X and T shape. Close your eyes and let the mist dry naturally for about thirty seconds. This step helps meld the layers together and can add a subtle fresh finish without heaviness. Next, confirm your sun protection: if your foundation or moisturiser does not contain broad-spectrum SPF, apply a lightweight SPF before your base or use a setting spray with SPF. Check the label to see whether reapplication is needed during the day, and follow the product instructions. This check is important because makeup alone rarely provides enough sun protection, and humid Australian days often mean strong UV levels. After the mist dries, press a clean tissue gently over your face to remove any excess moisture. Then do a final mirror check for creasing or uneven areas, and you are ready to go.
Quick Reference
| Situation | Action | Why it helps |
|---|---|---|
| Your face feels greasy by mid-morning and makeup is sliding. | Blot gently with a clean tissue or blotting paper, then press a small amount of translucent powder only on the shiny areas and blend with a clean brush. | Blotting removes oil and sweat first, so adding powder does not mix with moisture and create a cakey texture that looks worse than before. |
| Your foundation looks patchy after you have been outdoors in heat. | Spritz a light setting mist over the patchy areas and press with a damp sponge to smooth the edges, then let it dry before adding any more product. | A light mist rehydrates the makeup slightly so it can be blended again, while pressing avoids rubbing the base off and creating more uneven patches. |
| You need to refresh your look quickly before meeting someone. | Blot excess oil, add a tiny dot of cream blush to cheeks and lips, and smooth your eyebrows with a clean spoolie or fingertip. | These three quick actions restore colour and definition without adding heavy layers, so your makeup looks fresh rather than overloaded. |
Common Issues
- Makeup separates and looks uneven on your nose and forehead.: Cleanse and re-moisturise the area, wait two minutes, then apply a thin layer of mattifying primer and a small amount of lightweight foundation. Press with a damp sponge and set with a tiny amount of powder only there.
- Your under-eye concealer creases within an hour.: Use less concealer and blend it with a tapping motion, then set with a very light dusting of finely milled powder on a small brush. Avoid applying moisturiser directly under the eyes right before concealer, as extra moisture encourages creasing.
- Your blush disappears or turns patchy in humidity.: Switch to a cream or stain formula and apply it in thin layers, then lock it with a matching powder blush. If it still fades, carry a small amount of cream blush and tap it on with your fingertip after blotting away oil.
Advanced Tips
- Keep your makeup products in a cool, dry place and avoid leaving them in a hot car, because heat can change their texture and make them separate faster.
- Use a clean makeup sponge and wash it regularly; a dirty sponge can transfer oil and bacteria, which may cause breakouts in humid weather.
- If you use a setting spray, choose one labelled for long wear or humidity resistance and check the label for how to reapply during the day.
Final Checklist
- Cleanse, moisturise lightly, and apply mattifying primer only where you get shiny.
- Use a thin layer of oil-free foundation and set only your T-zone with translucent powder.
- Add cream or stain colour to cheeks and lips, then blend everything with a damp sponge.
- Finish with a light setting mist and confirm your sun protection for the day.
FAQ
How many products do I really need for a humid day?
A minimal routine can work with four to six products: cleanser, light moisturiser, mattifying primer, lightweight foundation or tinted moisturiser, concealer, and a multi-use cream colour for cheeks and lips. Add a translucent powder and setting mist if you tend to get shiny. The key is to keep layers thin and choose formulas labelled oil-free or long-wear. Fewer products mean less chance of separation or heaviness, and you can always carry one or two items for touch-ups instead of applying more at home.
Should I skip powder completely when it is humid?
No, but use it only where you need it. Powder helps control shine on the T-zone, nose, and chin, but applying it all over can look cakey and emphasise dryness. Choose a finely milled translucent powder, press it on with a fluffy brush, and tap off excess first. If your skin is dry, skip powder on those areas. Before reapplying powder during the day, blot away oil and sweat with a tissue, because powder over moisture can create a paste that looks uneven and feels heavy.
How can I make my makeup last longer in heat and humidity?
Start with a clean, moisturised but not wet base, use a mattifying primer only where needed, and apply thin layers of a long-wear, oil-free foundation. Set strategically with a light powder, choose cream or stain colour over heavy powders, and finish with a setting mist. Throughout the day, blot before touching up and avoid adding more heavy layers. Carry a small powder and a multi-use colour stick for quick fixes. Also check the label of your sun protection and reapply as directed, because sun exposure can break down makeup and cause uneven fading.