How To Measure Yourself For Online Clothing Purchases
A practical step-by-step guide to how to measure yourself for online clothing purchases, including preparation, instructions, common issues, tips, and next steps.
How To Measure Yourself For Online Clothing Purchases
Measuring yourself accurately at home is the single most reliable way to choose the right size when you shop for clothes online. This guide walks you through preparation, six careful steps, common mistakes, and a final checklist so you can order with confidence and reduce returns.
Fast Answer
- Wear fitted clothing and use a flexible tape measure against your body without pulling tight.
- Write every measurement down as you go, then compare against each seller's own size chart before ordering.
Before You Start
- Find a flexible cloth or plastic tape measure and a full-length mirror so you can check that the tape stays level.
- Put on the undergarments or fitted layer you plan to wear with the garment, since bulky layers change your numbers.
- Ask a friend to help with back, shoulder, and inseam measurements if you can, because twisting to read the tape shifts your posture.
- Print or open the seller's size chart and note the measurement points they actually use, such as chest, waist, hip, and length.
Step-by-Step Instructions
Measure Your Chest and Bust
Stand tall with your arms relaxed at your sides. Wrap the tape around the fullest part of your chest or bust, keeping it parallel to the floor and snug but not tight. Breathe normally and read the number at the point where the tape meets itself. For a more stable result, ask a helper to read the front while you keep your arms down. Write the number down immediately, because it is easy to misremember two similar figures. Check that the tape has not slipped down your back or twisted. This check matters because the chest measurement controls the fit across the shoulders and upper body, and a tape that slopes will give you a number that is too large.
Measure Your Natural Waist
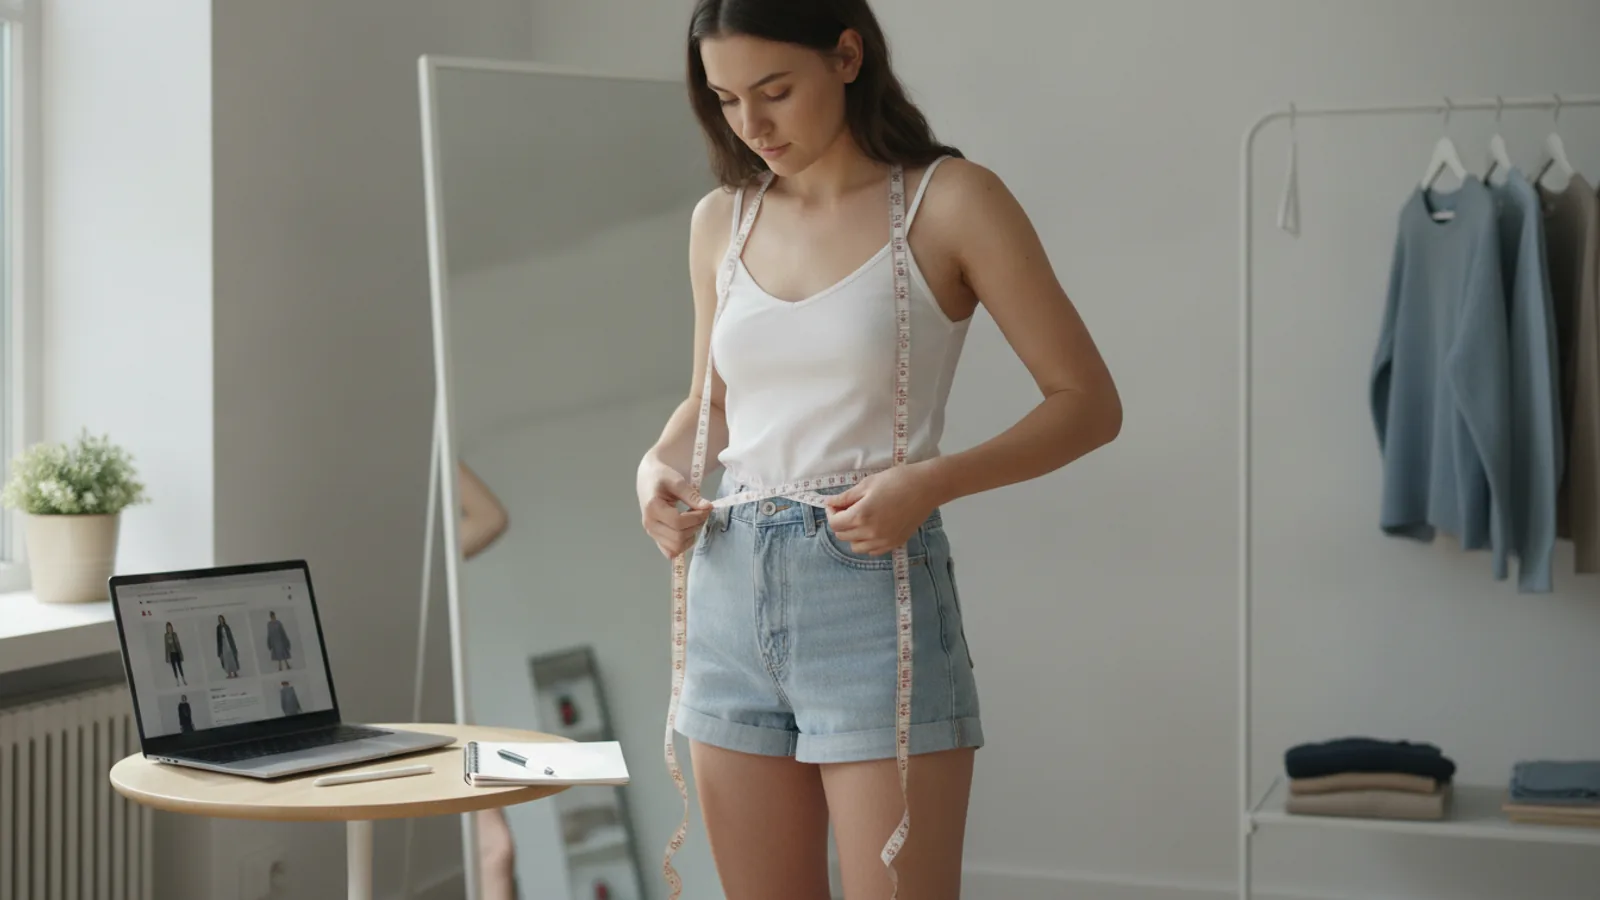
Find your natural waist by bending gently to one side; the crease that forms is your waistline. Stand straight again and wrap the tape around that point, usually just above the belly button. Keep the tape comfortably snug and breathe out normally before you read it. Do not suck in your stomach, because the number will not match the garment after you relax. Let the tape rest flat against your skin or a thin layer. Write down the measurement and then repeat it once to confirm. This check matters because many sellers use waist size as a main size marker, and a measurement taken while holding your breath can send you to a size that feels tight after a meal or a long day.
Measure Your Hips at the Fullest Point
Stand with your feet together and locate the fullest part of your hips and seat, often about twenty centimeters below your waist. Wrap the tape around that widest point, keeping it level and snug without pressing into your body. Check in a mirror that the tape is not riding up at the back. Read the number where the tape meets, then write it down. Repeat the measurement once to be sure. This check matters because hip size decides whether trousers, skirts, and dresses glide over your body or pull across the seat. If you measure too high, near your waist, you may order a size that is too small through the hips even when the waist feels right.
Measure Your Inseam and Outseam
For the inseam, ask a helper to run the tape from the crotch seam of a pair of trousers that fit you well down to the hem, or measure from your own crotch point to the floor while standing straight. For the outseam, measure from your natural waist down the outside of your leg to the floor. Keep the tape straight and close to the leg without pulling. Write both numbers down and note the shoe height you plan to wear. This check matters because two people with the same waist can need very different leg lengths. If you skip the inseam and rely only on waist size, you may receive trousers that are correct around the middle but far too short or long.
Measure Shoulders, Sleeves, and Neck
For shoulders, measure from the edge of one shoulder bone across your back to the other edge, keeping the tape straight across. For sleeve length, start at the shoulder point and measure down the outside of a slightly bent arm to the wrist bone. For the neck, wrap the tape around the base of your neck where a collar sits, leaving one finger of space for comfort. Record each number and check that the tape stayed flat. This check matters because shoulder width and sleeve length are hard to alter and easy to misjudge online. A shirt that is right in the chest but too narrow at the shoulders will feel restrictive every time you move your arms.
Record and Compare With the Size Chart
Write every measurement in one place, using the same unit as the seller's chart. Open the chart and find the row that matches your chest, waist, hip, and inseam numbers. If your numbers fall between two sizes, read the product notes about fit, fabric stretch, and intended looseness before deciding. Check whether the chart lists body measurements or garment measurements, because these are not the same. Compare your numbers to the chart twice, and note any point where you are more than a small step away from a size. This check matters because a careful comparison is what turns your raw numbers into a confident order and helps you avoid the return process later.
Quick Reference
| Situation | Action | Why it helps |
|---|---|---|
| You are between two sizes on the seller's chart. | Check the product description for fabric stretch and intended fit, then choose the larger size for woven fabrics and the smaller size only for very stretchy knits. | Woven fabrics have little give, so the larger size protects your range of motion while stretchy knits can comfortably follow your shape. |
| Your chest and hip measurements point to different sizes. | Measure again to confirm both numbers, then order the size that fits the larger of the two and plan for a simple alteration at the other point. | The larger measurement controls whether the garment goes on comfortably, and taking in a waist is usually easier than letting out a hip. |
| A seller's chart lists garment measurements rather than body measurements. | Lay a similar garment that fits you well flat on a table, measure it across the chest and waist, then compare those flat numbers to the chart. | Garment measurements include ease and design room, so comparing them to a familiar piece gives a truer picture of the final fit. |
Common Issues
- The tape measure slopes or twists around your back.: Stand in front of a mirror or ask a helper to check that the tape stays level and flat all the way around. A sloping tape adds extra length to your number, so a level tape gives you a size that actually matches your body.
- You measure over thick clothing or bulky layers.: Change into the thin layer you plan to wear with the garment and measure again. Thick clothing can add several centimeters, which may push you into a size that feels loose once you dress normally.
- You rely on a size you wore years ago instead of fresh numbers.: Take new measurements each time your body or the seller's chart changes. Bodies shift over time and charts vary between sellers, so fresh numbers protect you from ordering a size that no longer fits.
Advanced Tips
- Measure a favorite garment that fits you well and compare its flat numbers to the seller's chart for a second opinion.
- Note your measurements in both centimeters and inches so you can read any chart without converting in your head.
- Check the seller's return policy and fit notes before ordering, then keep the tags on until you have tried the item on.
- For coats and jackets, measure over the layers you plan to wear underneath so the shoulders and sleeves still move freely.
Final Checklist
- Wear fitted clothing and stand straight with your weight balanced on both feet.
- Use a flexible tape measure and keep it level, snug, and flat against your body.
- Write every number down twice and confirm each one with a second reading.
- Compare your numbers to the seller's own size chart before you place the order.
FAQ
How tight should the tape measure be?
The tape should sit snug against your body without pressing into your skin or leaving a mark. You should be able to slide one finger under it, but not two. If the tape feels tight, loosen it slightly and measure again, because a tight tape gives a smaller number and may lead you to order a size that feels restrictive.
Can I measure myself without help?
Yes, you can measure most points yourself in front of a mirror. Chest, waist, and hip are easier with a helper, but you can manage by keeping the tape level and reading it from the front. For back and shoulder measurements, a helper is more accurate because turning to read the tape changes your posture and the number.
What if my measurements fall between two sizes?
Read the product notes for fabric stretch and intended fit, then decide. For woven fabrics with little stretch, choose the larger size for comfort. For soft knits that stretch, the smaller size may fit well. If you are still unsure, check the seller's return policy and keep the tags on until you try the item.