How To Care For White Sneakers Between Wears
A practical step-by-step guide to how to care for white sneakers between wears, including preparation, instructions, common issues, tips, and next steps.
How To Care For White Sneakers Between Wears
Keeping white sneakers looking fresh between wears is mostly about quick, consistent habits that prevent dirt and yellowing from setting in. This guide walks you through daily and weekly care routines, from post-wear brushing to smart storage, so your shoes stay bright without harsh chemicals or constant deep cleaning. You will learn how to handle different messes, what to check on your shoes, and how to avoid common mistakes that dull the white finish over time.
Fast Answer
- After each wear, spend two minutes brushing off loose dirt and wiping the surface with a slightly damp cloth to stop grime from bonding to the material.
- Rotate your sneakers, stuff them with plain paper to hold shape, and store them in a cool, dry spot away from direct sunlight to slow yellowing.
Before You Start
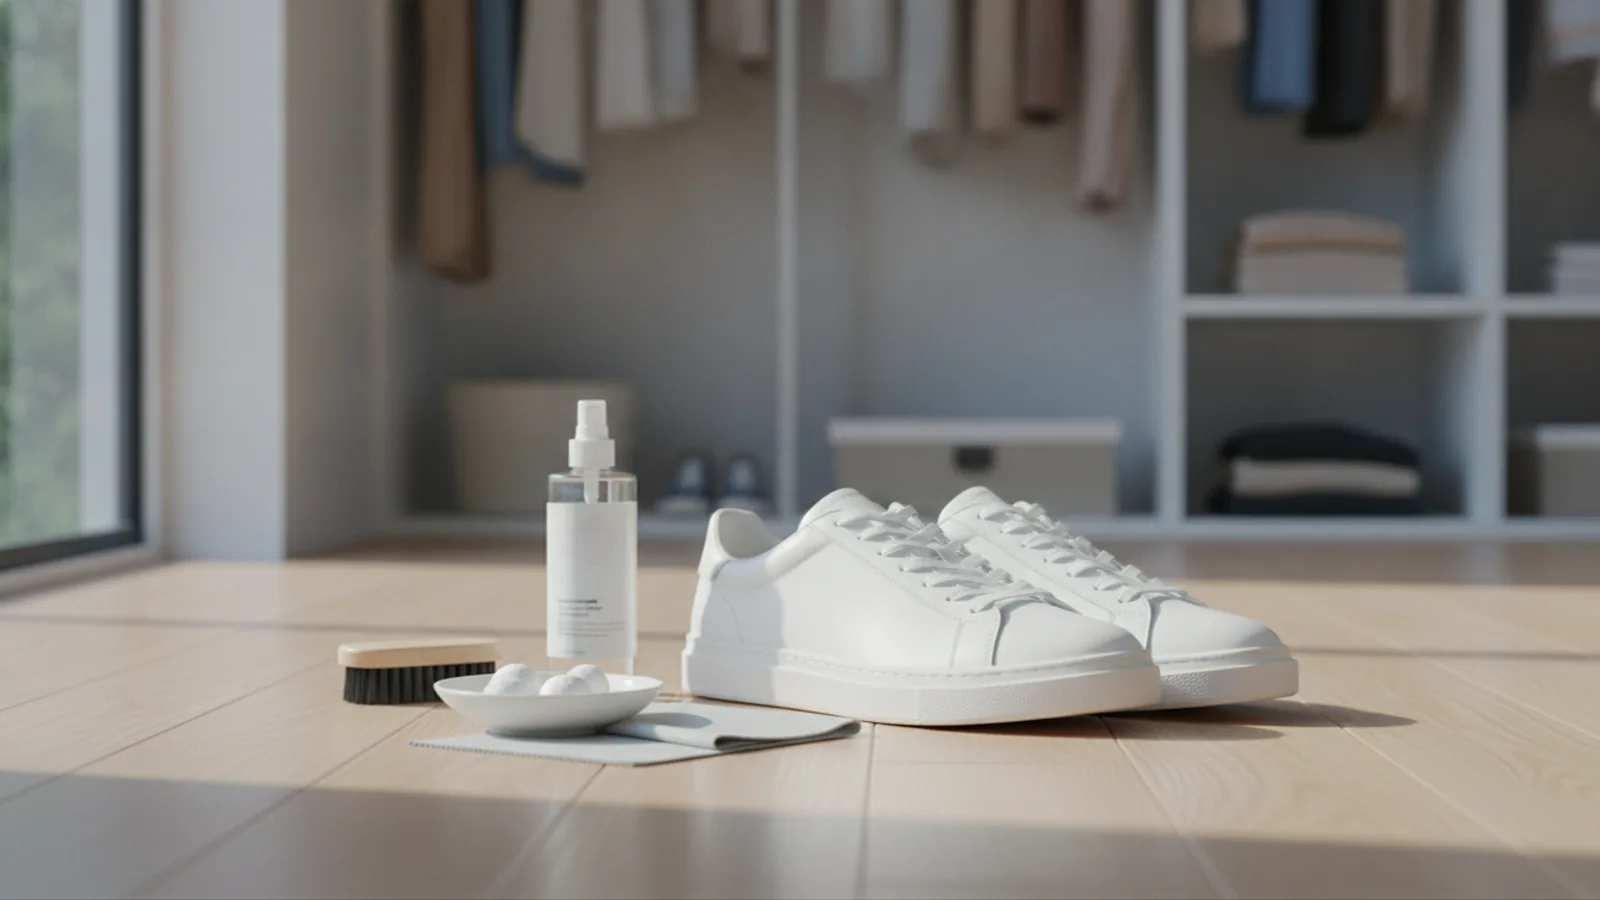
- Gather a soft-bristle brush, a microfiber cloth, a small bowl of cool water, and a mild soap or dedicated sneaker cleaner before you start.
- Check the care label or manufacturer instructions for your specific sneaker material, since leather, mesh, and canvas each need slightly different handling.
- Set up a workspace with good lighting and a towel underneath to catch drips and dirt, making it easier to see what you are cleaning.
- Remove laces and insoles if they are easy to take out, so you can clean them separately and reach the tongue and interior more effectively.
Step-by-Step Instructions
Brush Off Dry Dirt First
Before you introduce any moisture, take a soft-bristle brush and gently sweep the entire surface of each sneaker. Work from the top down, brushing the tongue, collar, and sides, then move to the sole and welt where grit tends to collect. Use short, light strokes rather than pressing hard, because aggressive brushing can push dirt deeper into mesh or scratch smooth leather. Pay extra attention to the area around the toe box and heel, which pick up the most dust and scuff marks. After brushing, tap the shoes together over a trash bin to knock loose particles out of the crevices. This dry step is important because wetting dirt first can turn it into a muddy stain that soaks into the material. A quick check: run your finger along the surface. If you still feel grit, brush again before moving on.
Wipe With a Damp Cloth
Dampen a clean microfiber cloth with cool water and wring it out until it is barely wet, not dripping. Wipe down the entire upper, including the tongue and the area around the laces, using gentle circular motions. For stubborn spots, add a tiny drop of mild soap to the cloth, but avoid soaking the material. Rinse the cloth often and re-dampen it so you are not smearing dirt around. After wiping, use a dry section of the cloth to remove any remaining moisture. This step removes the fine dust and light films that brushing alone leaves behind, and it gives you a chance to inspect seams and stitching for hidden grime. Check by looking at the cloth: if it comes away visibly dirty, fold it to a clean side and wipe again. Let the shoes air-dry for a few minutes before the next step.
Spot-Clean Stains Immediately
As soon as you notice a scuff, smudge, or spill, treat it before it sets. For most fresh stains, a small amount of mild soap on a damp cloth is enough. Gently blot the stain rather than rubbing vigorously, which can spread it. Work from the outside of the stain toward the center to keep it from growing. If the stain is oil-based, sprinkle a little cornstarch or baking soda on it, let it sit for several minutes to absorb the oil, then brush it away before wiping. For scuffs on rubber soles, a plain eraser or a damp melamine sponge can lift the mark with light pressure. After treating, wipe the area with a clean damp cloth to remove soap residue. Check the spot under good light; if a faint shadow remains, repeat once. Immediate action prevents stains from bonding to the material and becoming permanent.
Clean Laces and Insoles Separately
Remove laces and insoles if they come out easily. For laces, soak them in a bowl of cool water with a drop of mild soap for about fifteen minutes, then rub them between your hands to loosen dirt. Rinse thoroughly until the water runs clear and hang them to dry. Insoles can be wiped with a damp cloth and a little soap, but avoid soaking them because moisture can break down the foam and cause odor. If the insoles are heavily soiled, scrub them gently with a soft brush and rinse quickly, then press them between towels to remove excess water. Let both laces and insoles dry completely before putting them back. This step matters because dirty laces and insoles can transfer grime back onto the clean upper. Check that they are fully dry; damp insoles can lead to mildew and a musty smell.
Air-Dry Properly
After cleaning, stuff each sneaker loosely with plain white paper towels or crumpled blank newsprint to help hold its shape and absorb internal moisture. Do not use printed newspaper, because the ink can transfer onto white fabric. Place the shoes in a well-ventilated area away from direct sunlight and heat sources such as radiators or hair dryers. Direct heat can cause yellowing, shrinkage, and adhesive failure, so patience is key. Let them air-dry for several hours or overnight, depending on how damp they are. If the shoes are still damp inside after a few hours, replace the paper stuffing with fresh dry paper. Check dryness by touching the inside of the toe box; it should feel completely dry before you wear them again. Wearing damp shoes can stretch them out and encourage odor-causing bacteria.
Store Smart Between Wears
Once your sneakers are completely dry, store them in a cool, dry place away from direct sunlight. Sunlight can cause white rubber and foam to yellow over time, so a shaded shelf or a breathable shoe bag is better than a sunny windowsill. Avoid sealing them in plastic bags, which trap moisture and can lead to mold. If you keep them in a box, make sure the box has ventilation holes or leave the lid slightly open. For extra protection, place a small moisture-absorbing packet, such as silica gel, inside the shoe or the storage container. Before putting them away, do a quick check: look for any new scuffs or dirt you might have missed, and give the shoes a light brush if needed. Proper storage keeps them ready to wear and slows the gradual dulling of the white finish.
Quick Reference
| Situation | Action | Why it helps |
|---|---|---|
| You just came back from a walk and your sneakers look dusty. | Grab a soft brush and spend two minutes brushing off loose dirt from top to bottom, then wipe with a barely damp cloth and let them air-dry. | Removing dry dirt before it mixes with moisture prevents it from turning into a stained film that is harder to lift later. |
| You notice a fresh scuff mark on the white rubber sole. | Use a plain pencil eraser or a damp melamine sponge and rub the scuff gently with light pressure until it lifts, then wipe away any residue with a clean cloth. | Acting immediately stops the scuff from setting into the rubber and keeps the sole looking crisp without harsh chemicals. |
| Your sneakers got caught in the rain and are damp inside. | Stuff them with plain white paper towels, place them in a ventilated area away from heat, and replace the paper once it feels wet until the inside is completely dry. | Quick, gentle drying prevents moisture from weakening adhesives, causing odor, or leaving water stains on the white material. |
Common Issues
- Yellowing around the soles or toe caps.: Yellowing often comes from sun exposure, heat, or leftover cleaning residue. Clean the area with a mild soap and water solution, rinse well with a damp cloth, and let the shoes air-dry in a shaded spot. Avoid direct sunlight and heat. For stubborn yellowing, check the manufacturer's recommendations for a safe whitening product, and test it on a hidden area first. Consistent gentle cleaning and proper storage slow the process.
- Dark scuff marks on white leather or synthetic uppers.: Lightly rub the mark with a clean eraser or a soft brush dipped in a little mild soap and water. Blot rather than scrub hard, because rough rubbing can damage the finish. If the scuff persists, try a tiny amount of non-gel toothpaste on a cloth, work it in gently, then wipe away completely. Always test on an inconspicuous spot first, and avoid abrasive cleaners that can dull the surface.
- Persistent odors inside the shoes.: Remove the insoles and let both the shoes and insoles air out in a ventilated area. Sprinkle a small amount of baking soda inside the shoes, let it sit overnight, then shake it out. Avoid using scented sprays that may discolor white linings. If odor returns quickly, check that your feet and socks are completely dry before wearing, and rotate your sneakers to give each pair time to dry fully between uses.
Advanced Tips
- Create a weekly maintenance schedule: on the same day each week, spend ten minutes brushing, wiping, and inspecting your white sneakers so small issues never become big ones.
- Use a protective spray designed for your sneaker material to create a barrier against water and stains, but always follow the product instructions and reapply only as directed.
- Keep a small care kit in a drawstring bag with a soft brush, microfiber cloth, travel-size mild soap, and plain paper towels so you can handle messes on the go.
Final Checklist
- Brush off loose dirt from the entire shoe before applying any moisture.
- Wipe the upper with a barely damp cloth and mild soap, then remove all soap residue.
- Remove and clean laces and insoles separately, letting them dry completely before reuse.
- Air-dry shoes with plain paper stuffing in a shaded, ventilated spot, and store them away from direct sunlight.
FAQ
How often should I clean white sneakers between wears?
A quick two-minute brush and wipe after each wear is ideal, with a more thorough clean every one to two weeks depending on how often you wear them and the conditions. If you wear them daily in dusty or wet environments, do the quick routine every time and the deeper clean weekly. Watch for visible dirt or dullness as your cue to step up the frequency.
Can I use bleach to whiten my sneakers?
Avoid bleach unless the manufacturer explicitly says it is safe for your specific material. Bleach can yellow synthetic fabrics, weaken adhesives, and damage leather. Instead, use a mild soap and water solution or a cleaner recommended for your sneaker material. For stubborn stains, check the brand's care guide for approved products and always test on a hidden area first.
What is the best way to dry white sneakers quickly?
Stuff them with plain white paper towels to absorb moisture and hold shape, then place them in a well-ventilated area at room temperature. Avoid direct heat from radiators, hair dryers, or sunlight, which can cause yellowing and warping. Replace the paper stuffing when it becomes damp. Most sneakers dry overnight, but thicker materials may take longer. Check the inside of the toe box for dryness before wearing.